A tecnologia se tornou uma parte essencial do nosso dia a dia, e aprender a configurar uma lâmpada inteligente com a Alexa pode oferecer uma nova dimensão de praticidade ao seu lar. Essa sinergia entre dispositivos não apenas modifica o ambiente, mas também torna sua rotina mais simples, possibilitando o controle da iluminação residencial por meio de comandos de voz.
Os benefícios de ter uma lâmpada inteligente são muitos, incluindo economia de energia, possibilidade de programar horários para ligar e desligar as luzes automaticamente. Essas funcionalidades não apenas aumentam o conforto no lar, mas também oferecem uma experiência moderna e adaptada às suas necessidades.
Se você está procurando maneiras de tornar sua casa mais inteligente e conectada, continue a leitura para descobrir como aproveitar ao máximo a sua lâmpada inteligente com a assistência da Alexa.
Resposta Rápida
Para configurar sua lâmpada inteligente na Alexa e aproveitar a comodidade de controlar a iluminação com a voz, instale a lâmpada e siga o passo a passo no aplicativo Alexa no seu celular. Conecte a lâmpada ao Wi-Fi, escolha-a na lista de dispositivos detectados pelo app e siga as instruções. Assim, você poderá ajustar cores e intensidade da luz facilmente e economizar energia.Por que você deve ter uma iluminação inteligente?
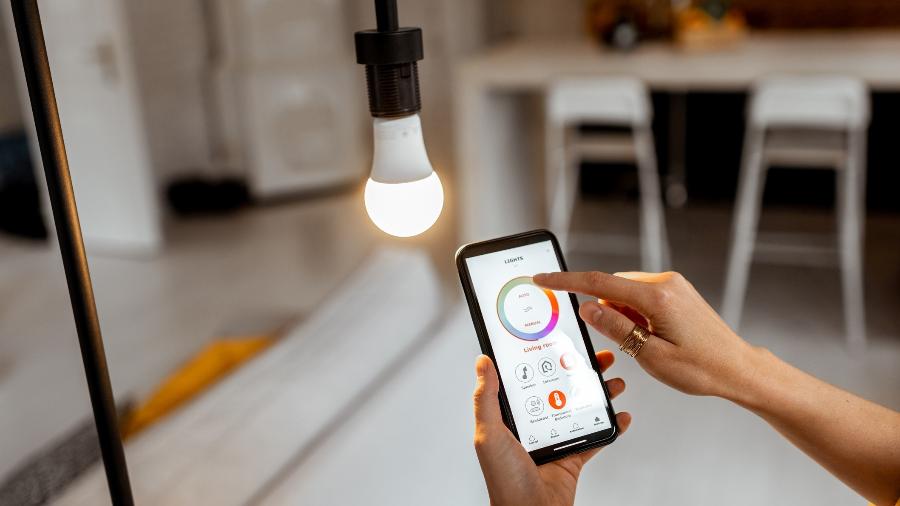
A lâmpada inteligente transformou o modo como iluminamos os ambientes da nossa casa. Com elas, você tem a liberdade de alterar a cor, a intensidade e a temperatura da luz para criar ambientes personalizados para cada momento do seu dia, tudo isso com um comando simples.
Os aspectos de personalização são acompanhados pela economia de energia. As lâmpadas inteligentes consomem menos energia quando comparadas às comuns. Outro ponto positivo é que você pode controlar as luzes da sua casa de qualquer lugar, evitando gasto excessivo ao deixar lâmpadas acesas sem necessidade.
Por último, mas não menos importante, está a praticidade. Usar a Alexa para controlar sua lâmpada é um jeito fácil de tornar sua rotina mais cômoda. Imagine só, você pode estar no meio de uma receita na cozinha com as mãos ocupadas e apenas com um comando de voz ajustar a luz conforme sua necessidade. É mais simples do que parece.
Como conectar e configurar lâmpada inteligente na Alexa
Antes de começar, certifique-se de que a lâmpada inteligente está instalada e que você tem o aplicativo Alexa instalado no seu celular. Pronto para configurar? Então, acompanhe o passo a passo:
- Acesse o aplicativo Amazon Alexa no seu celular e faça login com a sua conta Amazon;
- No menu inferior, toque em “Dispositivos”;
- Selecione o ícone “+” e depois a opção “Adicionar dispositivo”;
- Escolha “Lâmpada” na lista de tipos de dispositivo;
- Escolha a marca da sua lâmpada se disponível, caso contrário, selecione “Outro”;
- Conecte a lâmpada ao Wi-Fi seguindo as instruções do fabricante e certifique-se de que ela está ligada;
Agora, a Alexa vai buscar dispositivos. Se sua lâmpada inteligente estiver pronta para ser conectada, ela aparecerá na tela:
- Selecione sua lâmpada na lista de dispositivos encontrados pela Alexa;
- Siga as instruções na tela para finalizar a configuração;
- Pronto! Agora você pode controlar sua lâmpada inteligente através da Alexa.
Depois de linkar sua lâmpada inteligente com a Alexa, você pode usar comandos de voz para ligar, desligar, mudar a cor ou ajustar a intensidade da luz – é uma forma eficiente de ter mais controle sobre as luzes da sua casa e ainda traz um toque de casa inteligente.
Vantagens da lâmpada inteligente Positivo
A lâmpada inteligente da Positivo oferece várias vantagens que facilitam o seu dia a dia, sabia? Uma delas é a gama de cores disponíveis, que te permite criar diversas combinações e personalizar os ambientes conforme o seu humor ou atividade que você esteja realizando.
As lâmpadas da Positivo se destacam pelo baixo consumo de energia e boa potência de iluminação, garantindo assim economia na conta de luz sem comprometer a qualidade da sua experiência. São compatíveis com a Alexa e também com o Google Assistente, te dando maior flexibilidade no uso e na integração com outros dispositivos.
Vale mencionar que, com o aplicativo Alexa, é possível criar rotinas e automatizar a iluminação da sua casa. Imagine só, a luz da sala acendendo automaticamente quando o alarme tocar de manhã, ou então, apagando no horário que você costuma dormir.
Como instalar a lâmpada inteligente Positivo
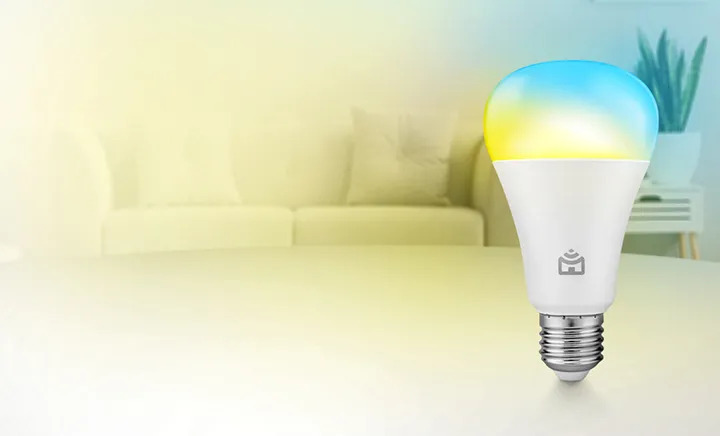
Antes de instalar e aproveitar todas as facilidades que a lâmpada inteligente Positivo pode oferecer, é importante instalar corretamente e, é claro, de desligar a energia elétrica. Feito isso, verifique se o soquete onde a lâmpada será instalada é compatível – em geral, as lâmpadas da Positivo utilizam soquetes padrão, então, é bem tranquilo.
Após rosquear a lâmpada no soquete, você pode voltar a ligar a energia. Agora, vem a parte divertida! Baixe o aplicativo da Positivo no seu celular, crie uma conta ou faça login, e conecte a lâmpada à sua rede Wi-Fi seguindo as instruções que vão aparecer na tela.
Com a lâmpada já conectada ao aplicativo, você pode começar a “brincar” com as cores, ajustar a intensidade da luz e, até mesmo, programar horários para ela ligar ou desligar sozinha.
E o melhor: depois de tudo pronto, você vai controlar tudo isso pelo celular ou, claro, usando a Alexa para fazer os comandos de voz sem levantar um dedo.
Conclusão
Viu como é fácil configurar sua lâmpada inteligente na Alexa? Com alguns passos simples, sua casa ganha uma nova cara e se adapta à era das casas inteligentes. De ajustes de cores a programação de horários, a tecnologia está para oferecer conforto e praticidade no dia a dia.
Controlar as luzes de sua casa pelo comando de voz e criar rotinas personalizadas através da Alexa são apenas alguns dos recursos que tornam a lâmpada inteligente um ótimo investimento para sua vida.
Não deixe de experimentar e ver como pequenas mudanças podem trazer grandes facilidades para seu cotidiano. Agora, com sua lâmpada conectada, você está pronto para aproveitar todos os benefícios de uma casa inteligente!
