A presença cada vez mais marcante da tecnologia em nossas vidas diárias está transformando as nossas experiências cotidianas, e a associação de uma lâmpada inteligente com a Alexa proporciona uma conveniência excepcional em casa. Essa interconexão de dispositivos não apenas altera a atmosfera dos ambientes, mas também aprimora sua rotina, possibilitando o control of residential lighting through voice commands.
The benefits of having a smart bulb are many, including energy savings and the ability to schedule times to automatically turn the lights on and off. These features not only increase home comfort, but also offer a modern experience adapted to your needs.
If you're looking for ways to make your home smarter and more connected, read on to find out how to make the most of your smart bulb with Alexa assistance.
Quick answer
To set up your smart bulb on Alexa and enjoy the convenience of controlling lighting with your voice, install the bulb and follow the steps in the Alexa app on your phone. Connect the lamp to Wi-Fi, choose it from the list of devices detected by the app and follow the instructions. This way, you can easily adjust colors and light intensity and save energy.Why should you have smart lighting?
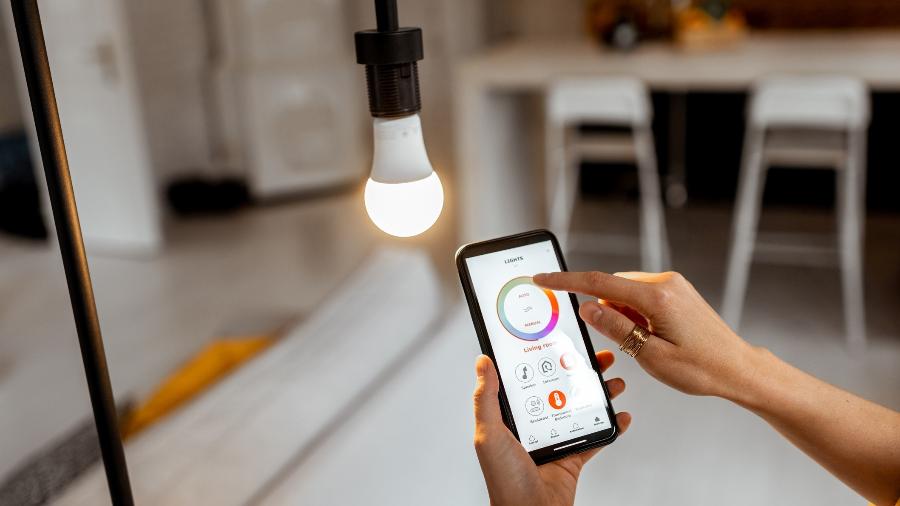
A smart light bulb It has transformed the way we light the spaces in our home. With them, you have the freedom to change the color, intensity and temperature of the light to create personalized environments for every moment of your day, all with one simple command.
The customization aspects are accompanied by energy savings. Smart bulbs consume less energy compared to regular ones. Another positive point is that you can control your home's lights from anywhere, avoiding excessive expense by leaving lamps on unnecessarily.
Last but not least is practicality. Using Alexa to control your lamp is an easy way to make your routine more convenient. Just imagine, you can be in the middle of a recipe in the kitchen with your hands full and just with a voice command you can adjust the light as needed. It's simpler than it seems.
How to connect and configure smart bulbs on Alexa
Before you start, make sure the smart bulb is installed and that you have the Alexa app installed on your phone. Ready to configure? So, follow the step by step:
- Access the application Amazon Alexa on your cell phone and log in with your Amazon account;
- In the bottom menu, tap “Devices”;
- Select the “+” icon and then the “Add device” option;
- Choose “Lamp” from the list of device types;
- Choose the brand of your lamp if available, otherwise select “Other”;
- Connect the lamp to Wi-Fi following the manufacturer's instructions and make sure it is turned on;
Now, Alexa will search for devices. If your smart bulb is ready to be connected, it will appear on the screen:
- Select your bulb from the list of devices found by Alexa;
- Follow the on-screen instructions to complete the configuration;
- Ready! Now you can control your smart bulb through Alexa.
After linking your smart bulb with Alexa, you can use voice commands to turn on, off, change the color or adjust the intensity of the light – it's an efficient way to have more control over the lights in your home and also brings a smart home touch.
Advantages of the Positivo smart lamp
A Positivo smart lamp It offers several advantages that make your daily life easier, you know? One of them is the range of colors available, which allows you to create different combinations and customize the environments according to your mood or the activity you are carrying out.
Positivo lamps stand out for their low power consumption and good lighting power, thus ensuring savings on your electricity bill without compromising the quality of your experience. They are compatible with Alexa and also with Google Assistant, giving you greater flexibility in use and integration with other devices.
It's worth mentioning that, with the Alexa app, you can create routines and automate your home's lighting. Just imagine, the living room light turning on automatically when the alarm goes off in the morning, or turning off at the time you usually sleep.
How to install the Positivo smart bulb

Before install and take advantage of all the facilities that the Positivo smart bulb can offer, it is important to install it correctly and, of course, to turn off the electricity. Once this is done, check if the socket where the lamp will be installed is compatible – in general, Positivo lamps use standard sockets, so it's very easy.
After screwing the bulb into the socket, you can turn the power back on. Now comes the fun part! Download the Positivo app on your cell phone, create an account or log in, and connect the lamp to your Wi-Fi network following the instructions that will appear on the screen.
With the lamp already connected to the app, you can start “playing” with the colors, adjusting the light intensity and even programming times for it to turn on or off by itself.
And the best part: once everything is ready, you will control all of this via your cell phone or, of course, using Alexa to make voice commands without lifting a finger.
Conclusion
See how easy it is to configure your smart bulb on Alexa? With a few simple steps, your home gets a new look and adapts to the era of smart homes. From color adjustments to scheduling, technology is about to offer comfort and practicality day to day.
Controlling your home lights via voice command and creating personalized routines through Alexa are just some of the features that make smart bulbs a great investment for your life.
Don't forget to try it and see how small changes can bring great ease to your daily life. Now, with your bulb connected, you're ready to enjoy all the benefits of a smart home!